

I recently had a conversation with some colleagues about whether I as a web developer often needed to have data available both offline and online. My initial answer was no, I couldn't think of many instances of needing offline data other than an offline page for a progressive web app I worked on. On further prompting, I realized I had implemented offline data patterns in more instances than I'd thought -- namely in creating forms that autosave with an offline fallback.
Having an autosave fallback is an increasingly common pattern in forms that require a lot of writing, like GitHub issues and blog editors. I have closed a tab or accidentally refreshed a form to lose fifteen minutes of work many times in my life, and it's annoying to say the least. This comes even more into play for people in areas without consistent internet or cell service, they may flicker on and offline and need to have their data persisted even if they lose internet. In certain circumstances such as medical systems, finance, and mining data loss could have dire consequences.
In this tutorial, we'll be building an online offline note editor. When a user exits the page, their partially completed form data will be saved and load back into the form automatically when they come back to the page. We will differentiate between the post loaded into the editor and the completed notes by flagging the in-progress Note as a draft. Here is the completed code for the tutorial.
Normally, this is implemented through storing data in localStorage on page exit. LocalStorage’s API is developer-friendly, in large part because it’s synchronous, and it saves data across browser sessions. So the user has one draft stored per device, which is great for simple use cases, but it becomes very complex very fast if the user updates data via another device -- which version of the data loads for them? The offline/online data problem is more complex than initially one might think: you're essentially creating a distributed system. You're using localStorage for some data and your database for the rest of it. Also, there are limits to how much data localStorage can store and its synchronicity blocks the main thread.
When you have distributed data, the CAP theorem comes into play, which states that a system can only have two out of the three: partition tolerance, consistency, and availability. Partition tolerance means that a system continues to run if there are outages, availability means that every request gets a response on success or failure, and consistency means that all replications have the same data at the same time. For an app with a frontend, partition tolerance is a necessity: you have one server and a client or two partitions at the very minimum. We also have already stated that we want our data available online and offline. So, full consistency is the branch sacrificed and "eventual consistency" is enacted instead.
Eventual consistency can make the programming logic more difficult for developers. When you create data and it’s successful, you want to get that data back in your query. If you need to account for situations where you get stale data back this can easily introduce bugs, leading to a poor experience for app users. In this tutorial, we'll use AWS Amplify DataStore which handles these merging issues for us.
With our offline/online editor, when the user goes offline, there will be different local and global data until the user goes back online. It's local first which means when you run a query or mutation on data you'll first update data in IndexedDB, the default DataStore on-device storage engine. It's similar to localStorage but allows for much more data and asynchronous updating in exchange for a more complex API, which we won’t need to worry about since we are using DataStore to abstract it away. Then, if you enable online storage your data will sync to your AWS database of choice, which defaults to DynamoDB.
Create a data model
First, we'll create a data model using the Amplify Admin UI.
- Head to https://sandbox.amplifyapp.com and then click Get started under Create an app backend
- Select Data as the feature to setup, and choose start with a blank schema.
- On the top left, click model.
- Name the model "Note".
- Add the fields
title, draftandbody. - Select
titleanddraftand then click required on the right hand menu. - Set the type of
drafttoboolean. 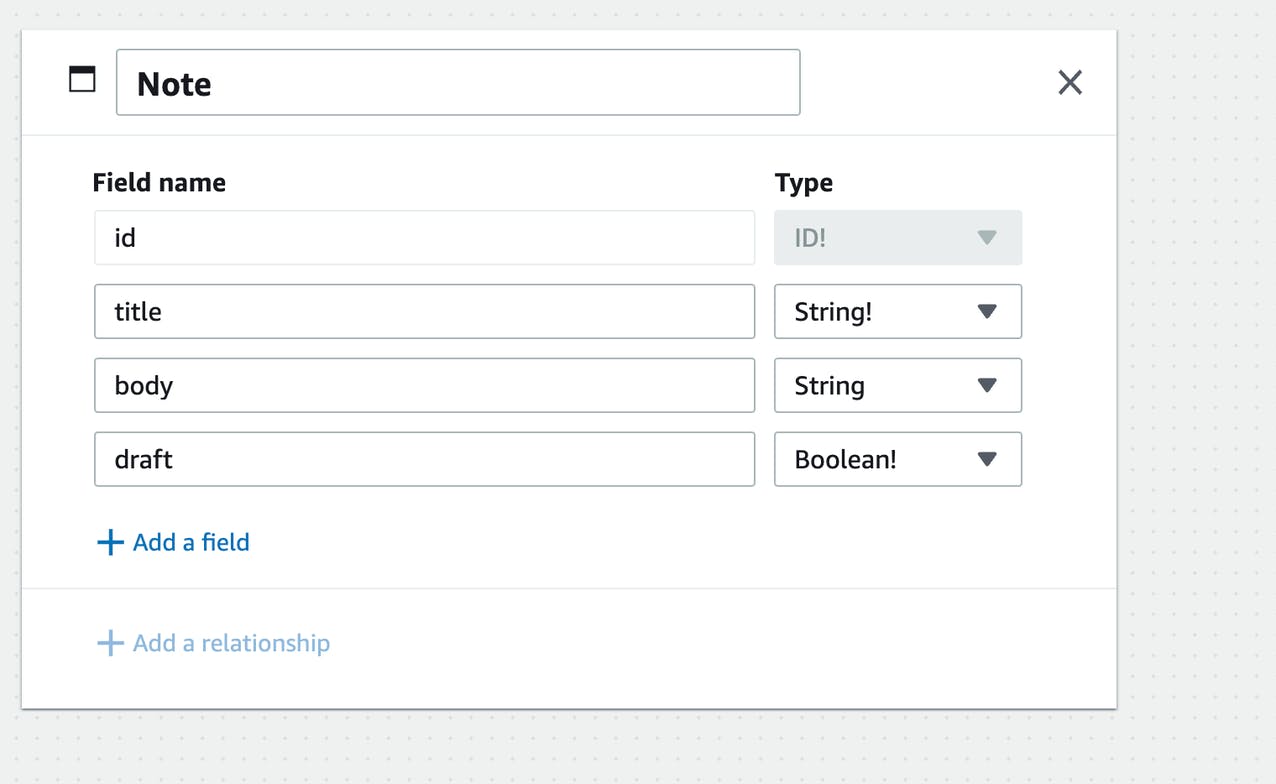
Then, click the "Next: Test locally in your app" button. Note that you don't need to have an AWS account to test this out, you'll only need one if you choose to deploy a database in the future.
Create a project
Now, we'll create a frontend app for our project. There's instructions on that page for various types of applications, but we'll ignore these and create our own since we won't be using a framework for this application. Click "next" twice.
If you'd like to follow along, I normally use this starter template. You do need a development server to work with Amplify since it uses ES Modules and DataStore requires a TypeScript transpiler, so it isn't as simple as creating an HTML file.
Then, use the generated commands to install the Amplify CLI and to pull the data model into your application. Note that you will need to use your individual sandbox id, which is in the generated command on step 3 on the "Test locally in your app" page.
$ curl -sL https://aws-amplify.github.io/amplify-cli/install | bash && $SHELL
$ amplify pull --sandboxId your-sandbox-id
Then install the aws-amplify JavaScript library and TypeScript.
$ npm i aws-amplify typescript
Now, configure Amplify in your JavaScript file:
import { Amplify, DataStore } from 'aws-amplify'
import awsconfig from './aws-exports'

import { Note } from './models'

Amplify.configure(awsconfig)
We'll also import the Note model for future use.
Create a form
First, create a form in your HTML file to allow a user to create a new note. We'll just include the title and body fields. The draft field will be managed just in our code, not by the end user.
<form class="create-form">
   <label for="title">Title</label>
   <input type="text" name="title" id="title">
   <label for="body">Body</label>
   <textarea type="text" name="body" id="body"></textarea>
   <input type="submit" value="Create">
</form>
We'll also need to create a new Note object when the form is submitted. We'll add an event listener to it, and then create a new note in DataStore which captures the user's inputted title and body. Since it's submitted, it won't be a draft.
document.querySelector('.create-form').addEventListener('submit', async e => {
   try {
     e.preventDefault()
     const title = document.querySelector('#title').value
     const body = document.querySelector('#body').value

     const newNote = await DataStore.save(
       new Note({
         title,
         body,
         draft: false
       })
     )
     console.log(newNote)
   } catch (err) {
     console.error(err)
   }
})
Create an empty draft
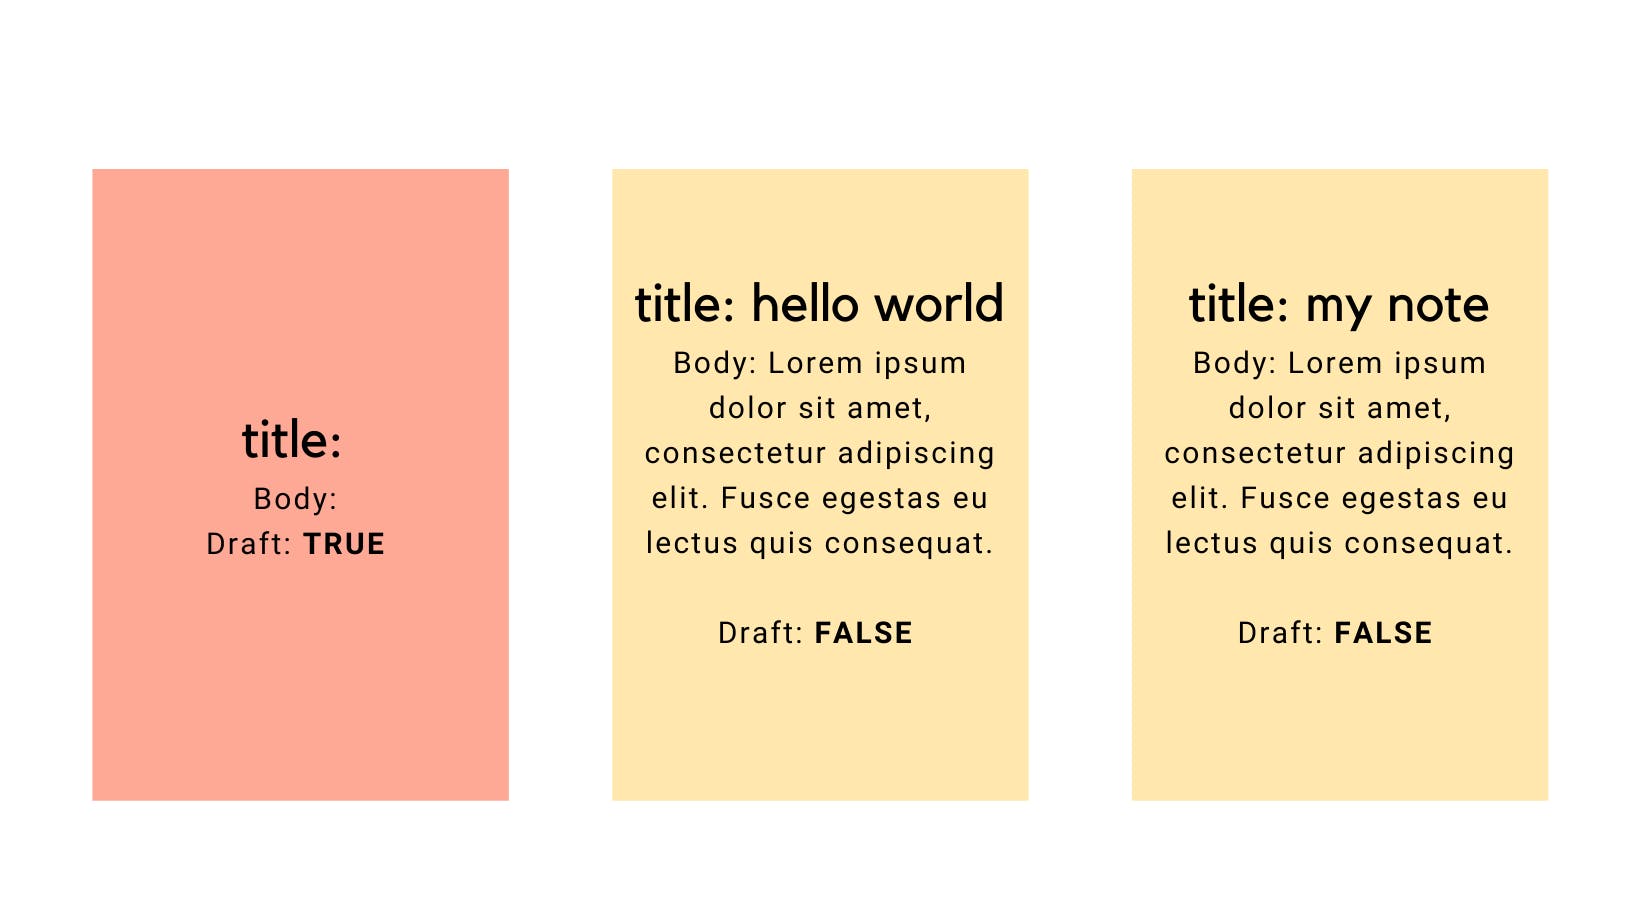
So far we've created a standard form that saves our new note on form submission. Now, we need to add in the autosave functionality.
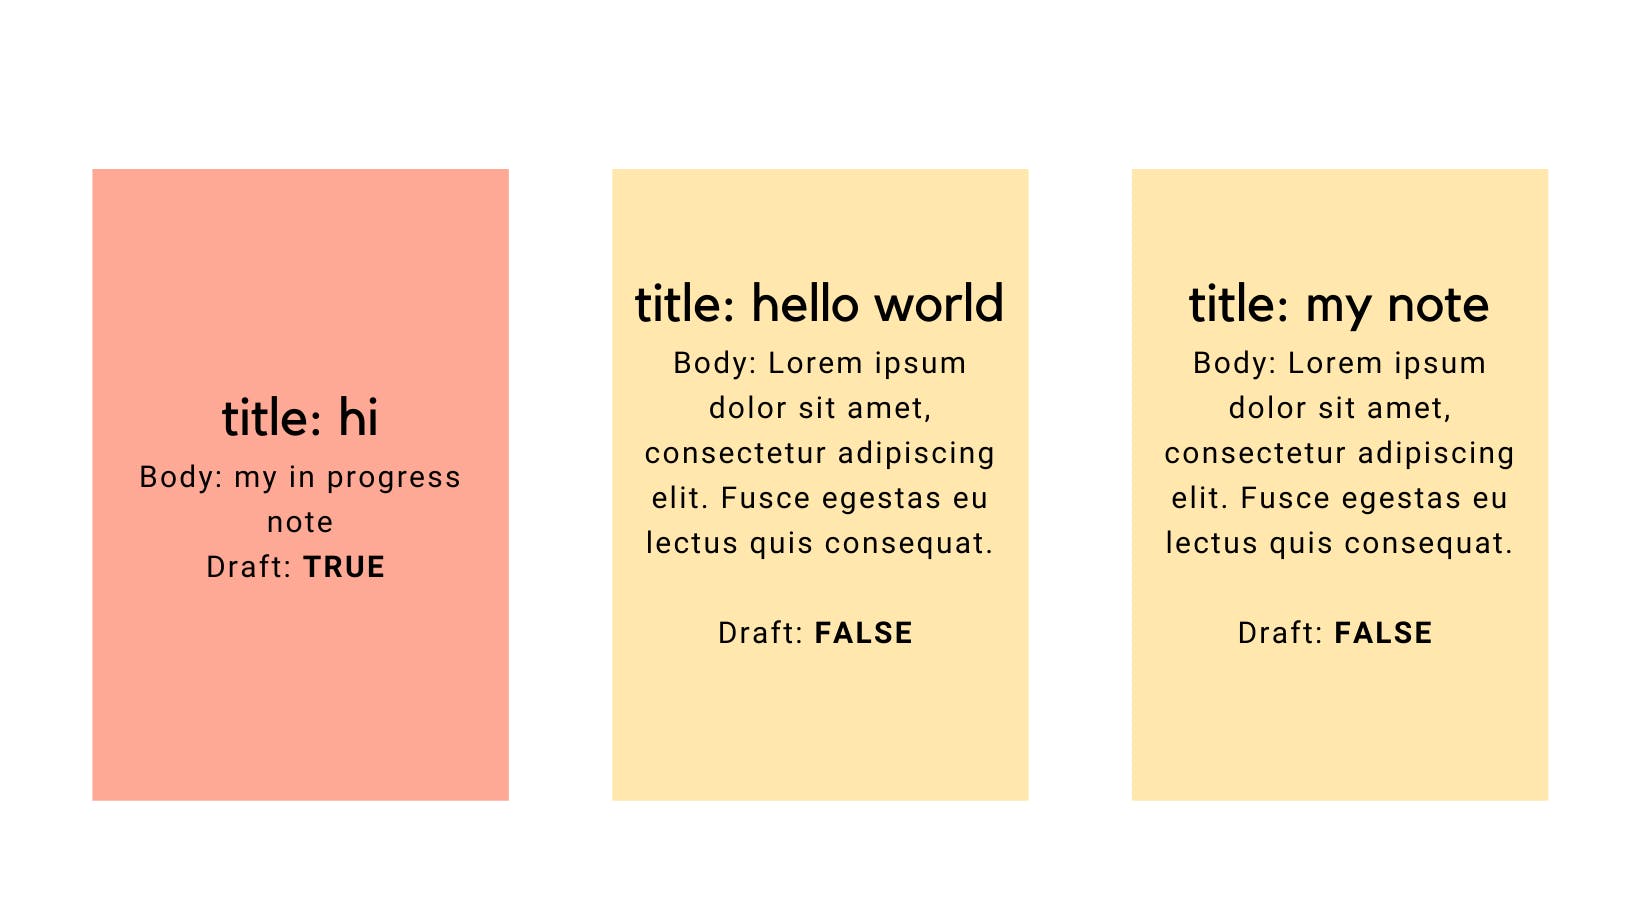
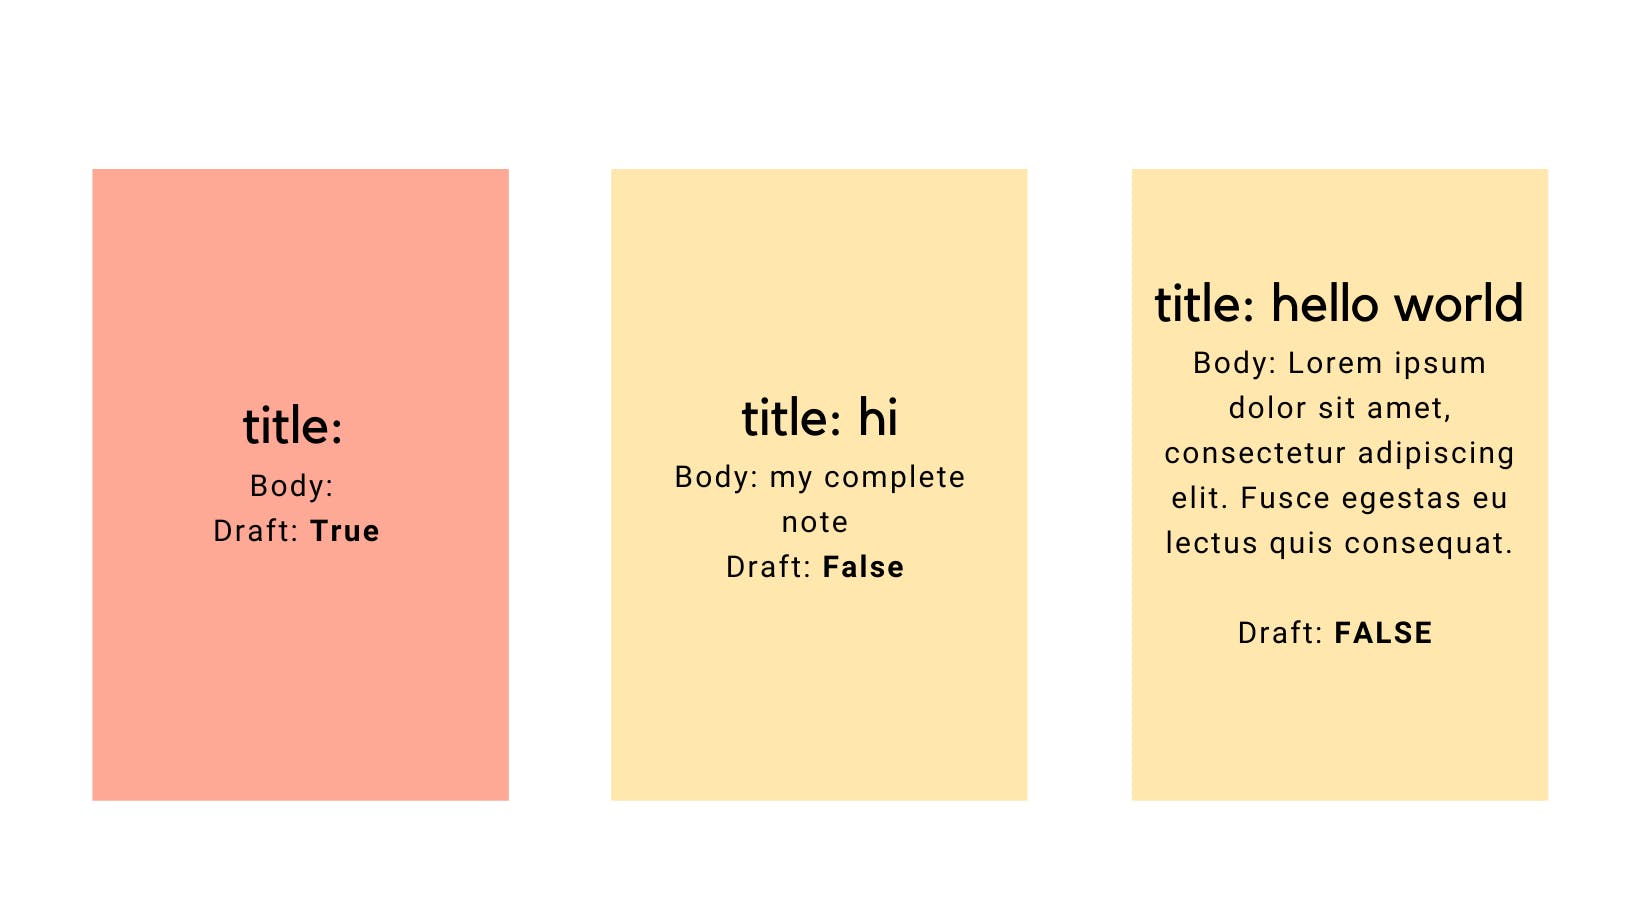
How this is going to work is that we'll always have one note that's a draft. When the page loads, we'll query DataStore to see if a draft exists. If it does, then we'll load its title and body into the form as the starting point. If one doesn't exist, then we'll create a new empty draft note that will be saved when the person exits the page.
When the page loads, we'll query DataStore to find notes that are drafts using DataStore's query language. We'll also create a variable to store the current draft the user is working on.
let draft = {}

window.addEventListener('load', async () => {
  const drafts = await DataStore.query(Note, note => note.draft('eq', true))
})
We'll also create a function that makes a new blank draft. This will set that global draft variable to a new blank draft note.
async function createNewDraft () {
  try {
    draft = await DataStore.save(
      new Note({
        title: '',
        body: '',
        draft: true
      })
    )
  } catch (err) {
    console.error(err)
  }
}
Now, we'll add a conditional that checks to see how many drafts there are. If there's more than one, we'll want to throw an error -- this should never happen.
If there isn't currently a draft in DataStore, we'll need to create a new one. If there is a draft, then we'll update the tile and body in the form with the current draft's information.
let draft = {}

window.addEventListener('load', async () => {
  const drafts = await DataStore.query(Note, note => note.draft('eq', true))
  if (drafts.length === 0) {
    draft = drafts[0]
    document.querySelector('#title').value = draft.title
    document.querySelector('#body').value = draft.body
  } else if (drafts.length === 1) {
    createNewDraft()
  } else {
    alert('weird! you have multiple drafts!')
  }
})
Fill the draft on page exit
Now that we have a draft, we want to automatically save that draft whenever the user navigates away from the page or refreshes the tab. We'll add an event listener to the page that listens for the beforeunload event.
DataStore.save() is used for both create (which we've used previously) and for update. In order to update a currently stored Note, we'll create a copy of it and update the attributes we want to change.
window.addEventListener('beforeunload', async () => {
  try {
    const title = document.querySelector('#title').value
    const body = document.querySelector('#body').value

    await DataStore.save(Note.copyOf(draft, updatedNote => {
      updatedNote.title = title
      updatedNote.body = body
    }))
  } catch (err) {
    console.error(err)
  }
})
Submit the form

We're almost there! The final step needed is to change the submission function for the form. Instead of creating a new note, we'll modify our draft note with the form title and body and then set draft to false.
document.querySelector('.create-form').addEventListener('submit', async e => {
  try {
    e.preventDefault()
    const title = document.querySelector('#title').value
    const body = document.querySelector('#body').value

    const newNote = await DataStore.save(Note.copyOf(draft, updatedNote => {
      updatedNote.title = title
      updatedNote.body = body
      updatedNote.draft = false
    }))

    console.log(newNote)
  } catch (err) {
    console.error(err)
  }
})
We'll also need to create a new blank draft so that the user can start typing a new note. We'll also need to reset the form.
document.querySelector('.create-form').addEventListener('submit', async e => {
  try {
    e.preventDefault()
    const title = document.querySelector('#title').value
    const body = document.querySelector('#body').value

    const newNote = await DataStore.save(Note.copyOf(draft, updatedNote => {
      updatedNote.title = title
      updatedNote.body = body
      updatedNote.draft = false
    }))
    console.log(newNote)
+   createNewDraft()

+   document.querySelector('#title').value = draft.title
+   document.querySelector('#body').value = draft.body
  } catch (err) {
    console.error(err)
  }
})
Deployment
Right now with the test version of the app, we're just storing data locally on the device instead of syncing it to a cloud database. In order to enable the online/offline sync, you can go back to the sandbox in the browser and deploy your backend. You don't need to do anything else in your code other than re-run Amplify pull to get the link to your database.
There’s a lot more that can be done for this editor as well. In a production use case, you'd want to have users that each have a draft instead of one global draft that's loaded into the editor. You also may want to tweak the collision rules for what happens, for example, if the user edits data on another device before they come back online.
Another potential feature could be saving each draft version. A possible implementation would be to store one Note parent model that has multiple child Versions. Each Version would have an order number attached to it so that they could be accessed sequentially. The final version would also have a published flag to differentiate it. There are many ways you could change this pattern to fit a more complex use case.
Conclusion
Autosave forms and apps that have data available even when offline helps to assuage user annoyance and leads to better experience for users in areas with spotty internet and mobile connection. Having a performant offline available app is important for global accessibility. Amplify DataStore helps enable this in applications without a large developer lift.