


In this tutorial, we'll build a multi-page recipe app with data storage, authentication, and Figma to UI code generation using Next.js and AWS Amplify Studio.
If you're new to Next.js check out this tutorial first.
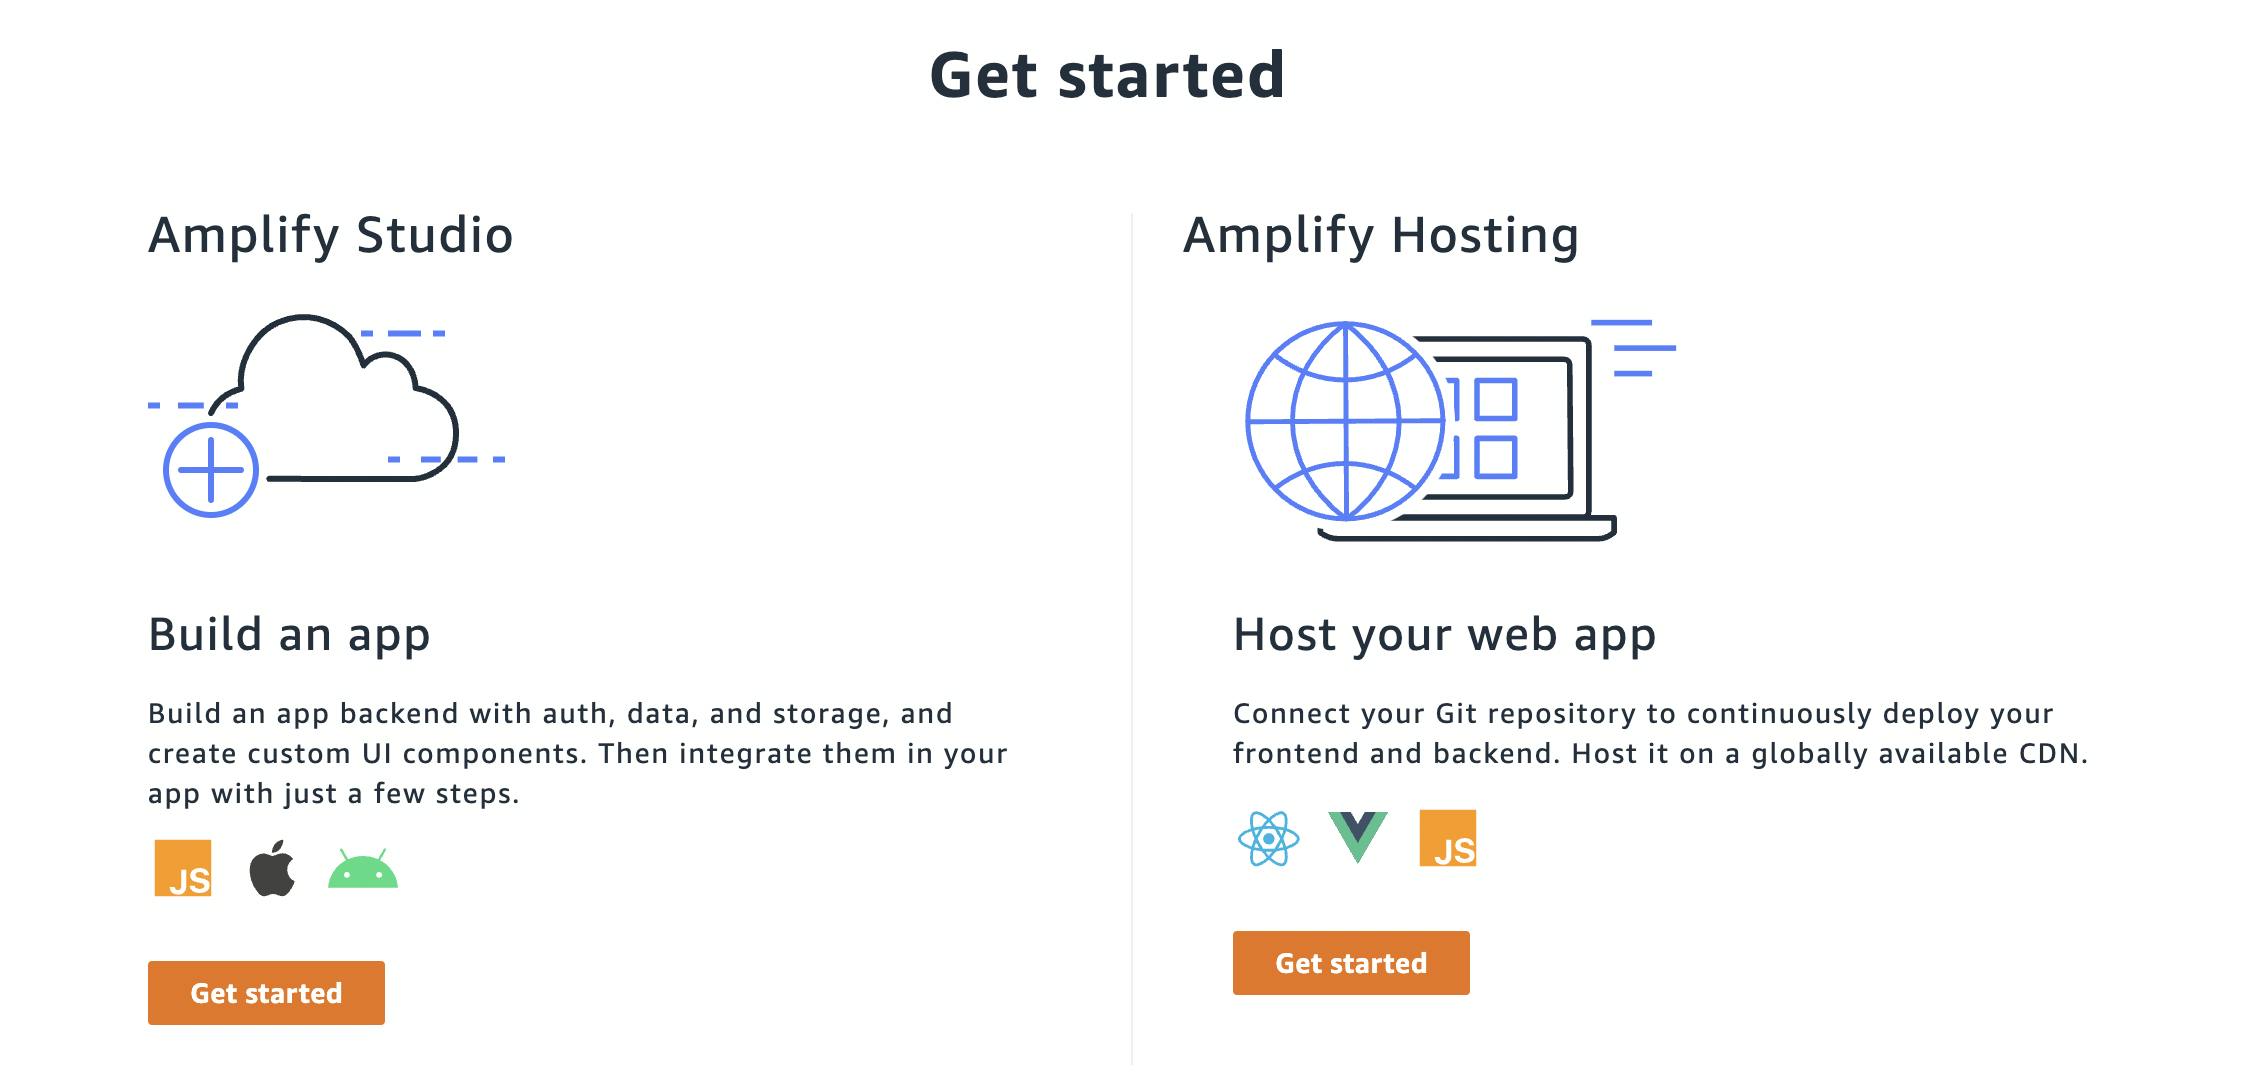
First, create an AWS account if you don't have one. Then, go to the Amplify Console. Click "Get started" then click the second "Get started" button under "Build an app." You'll be prompted to add a name for your app, for example "recipes"
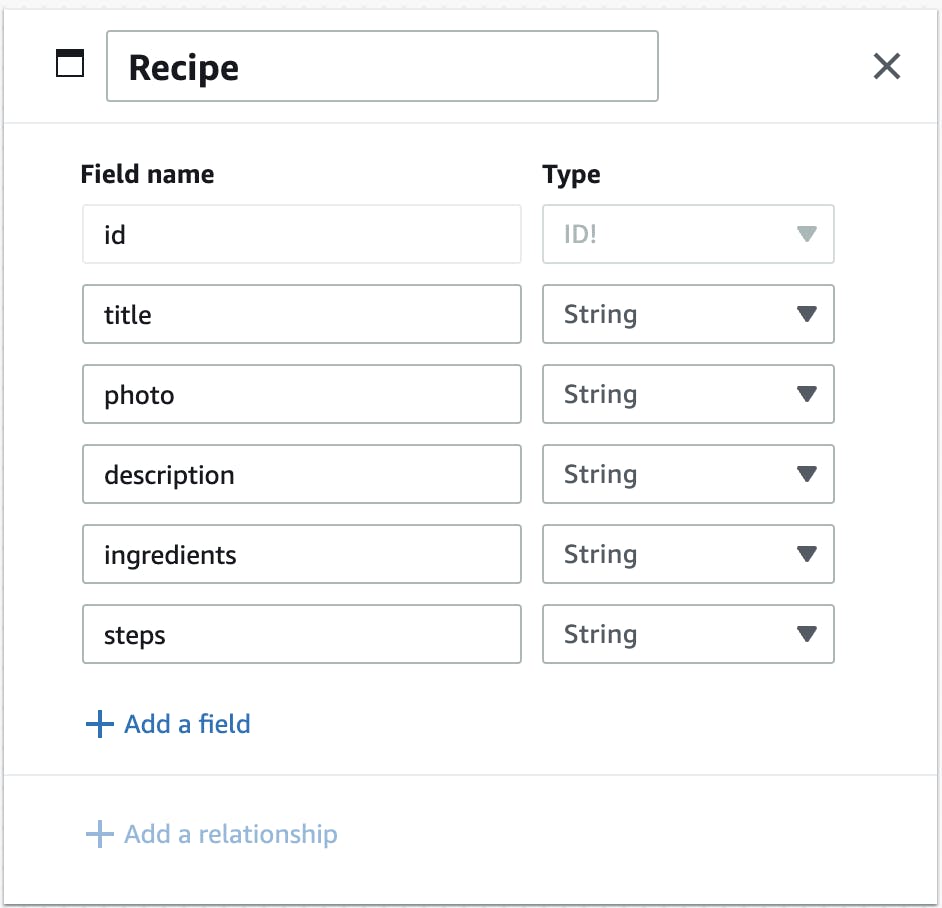
It will take a few minutes for your app to be instantiated, but once it has been created click "Launch Studio." Then, click the orange "Create data model" button. Click "+ Add model" then create a "Recipe" model with a title, photo, description, ingredients, and steps. Then click "Save and Deploy." Your app will take a few minutes to deploy - behind the scenes a GraphQL API with a DynamoDB database is being built.
Now, go to the Authentication tab. I'll deploy the basic setup; I'll just scroll to the bottom and click "Deploy." You can also setup social authentication or multifactor authentication if you want.
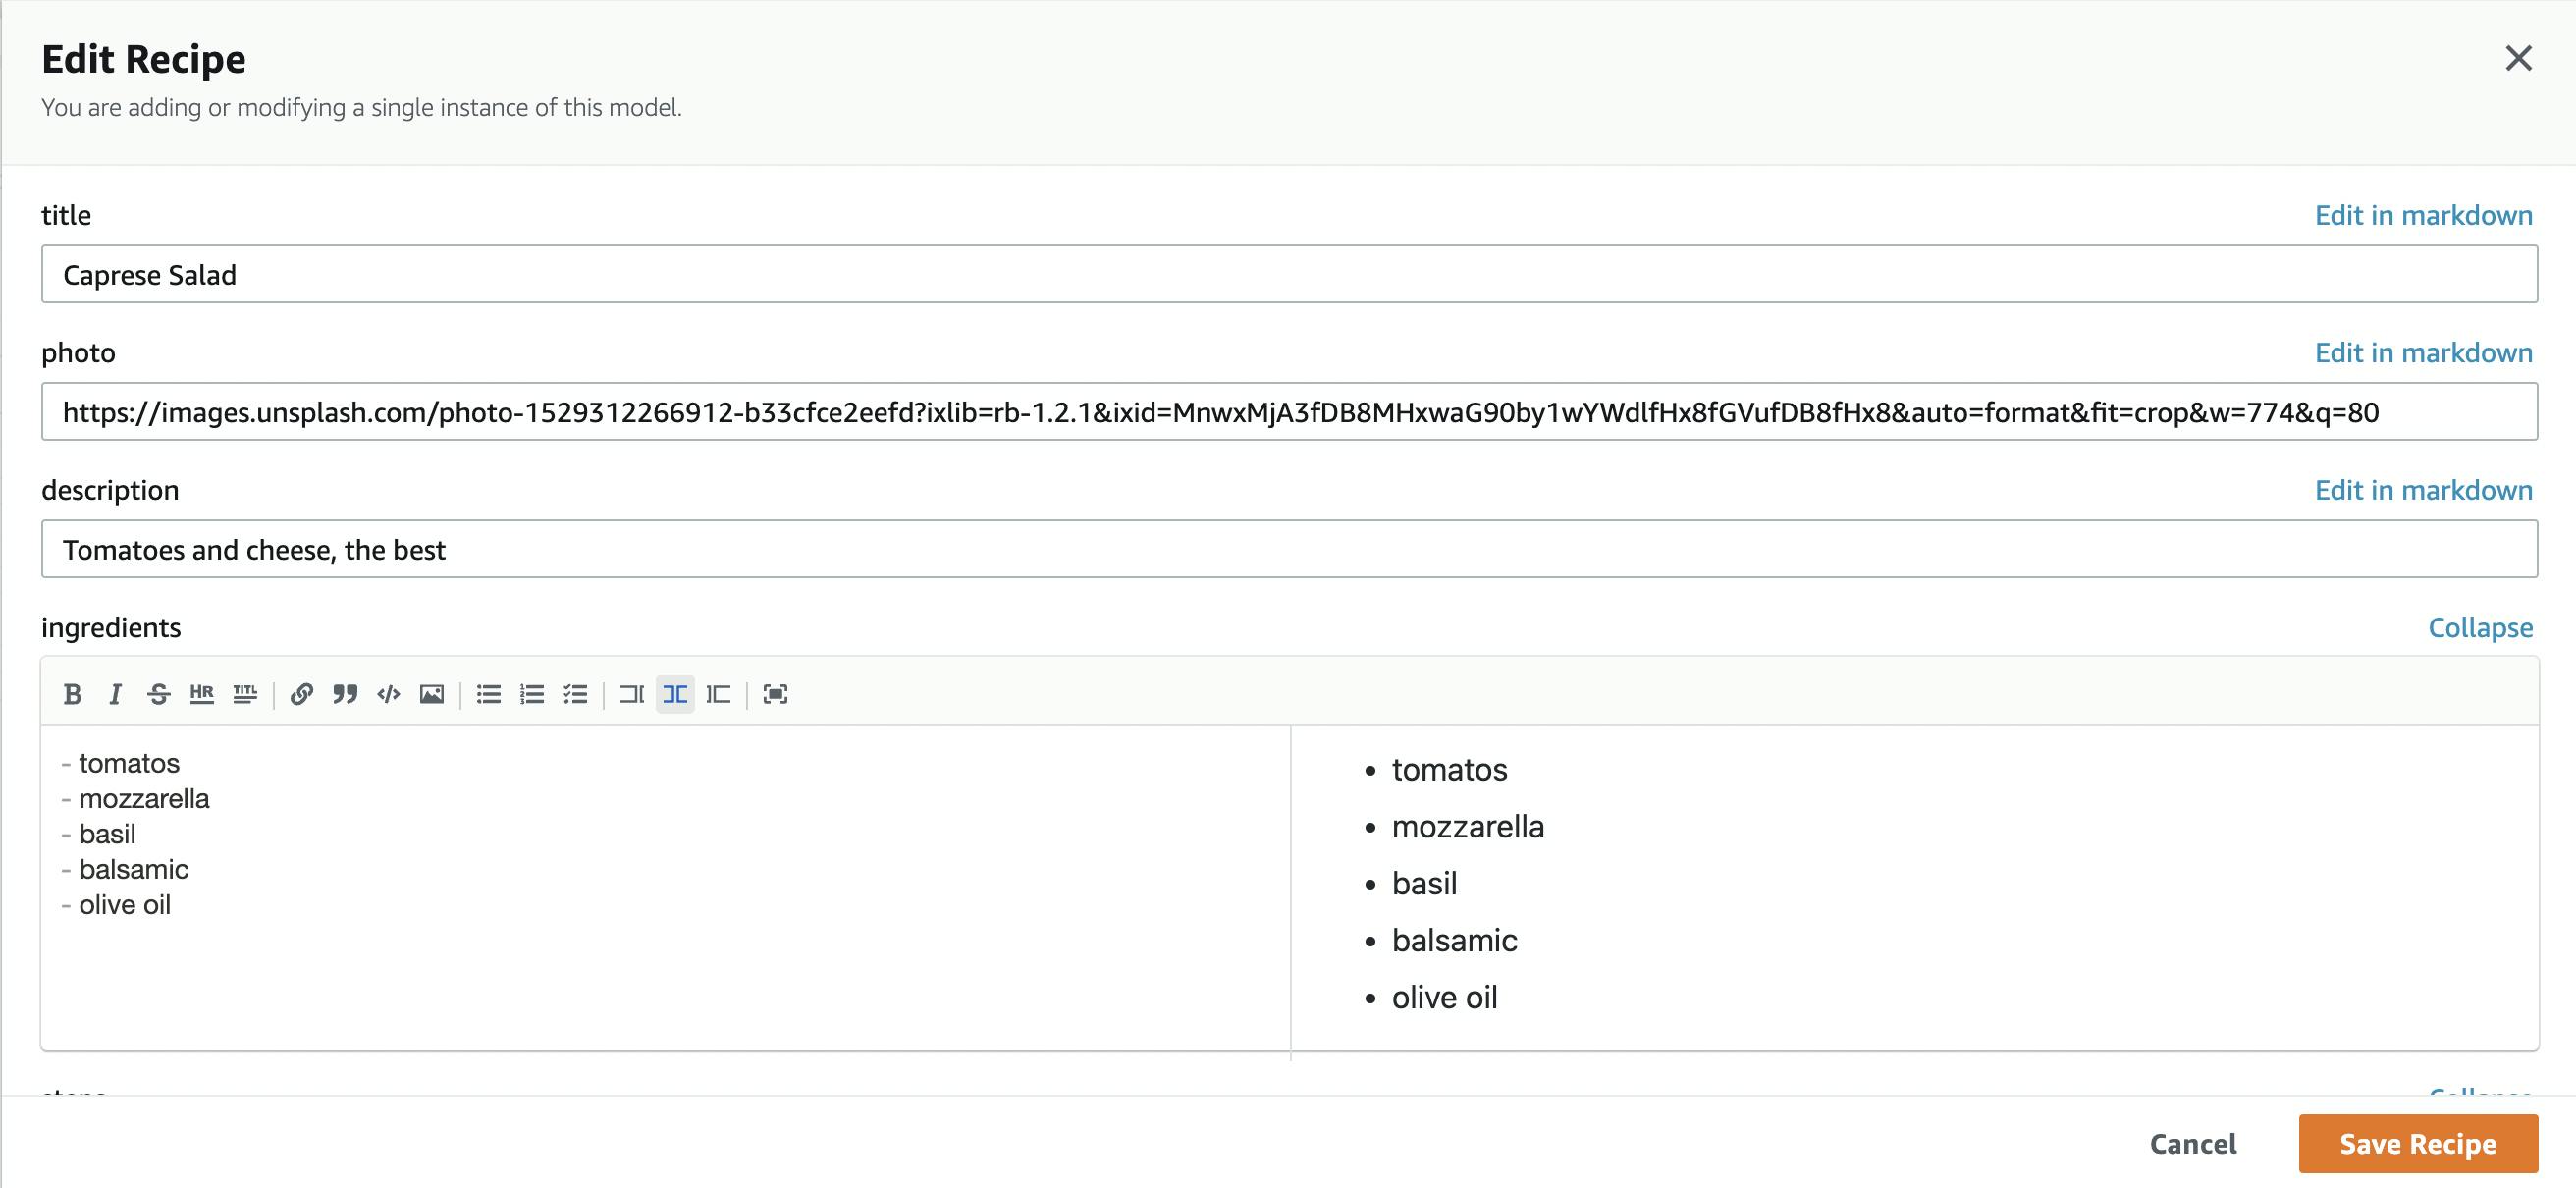
Now, go to the "Content" tab and add a few recipes, you can use the markdown editor to add lists of ingredients and steps!
So far, everything in this tutorial could be used to build a backend for any type of frontend app including iOS and Android. We'll now be going from design to code with Figma and Amplify UI, which right now is a React-specific feature. Go to Figma, create an account, then click "Get a copy" on the AWS Amplify UI Kit community Figma file.
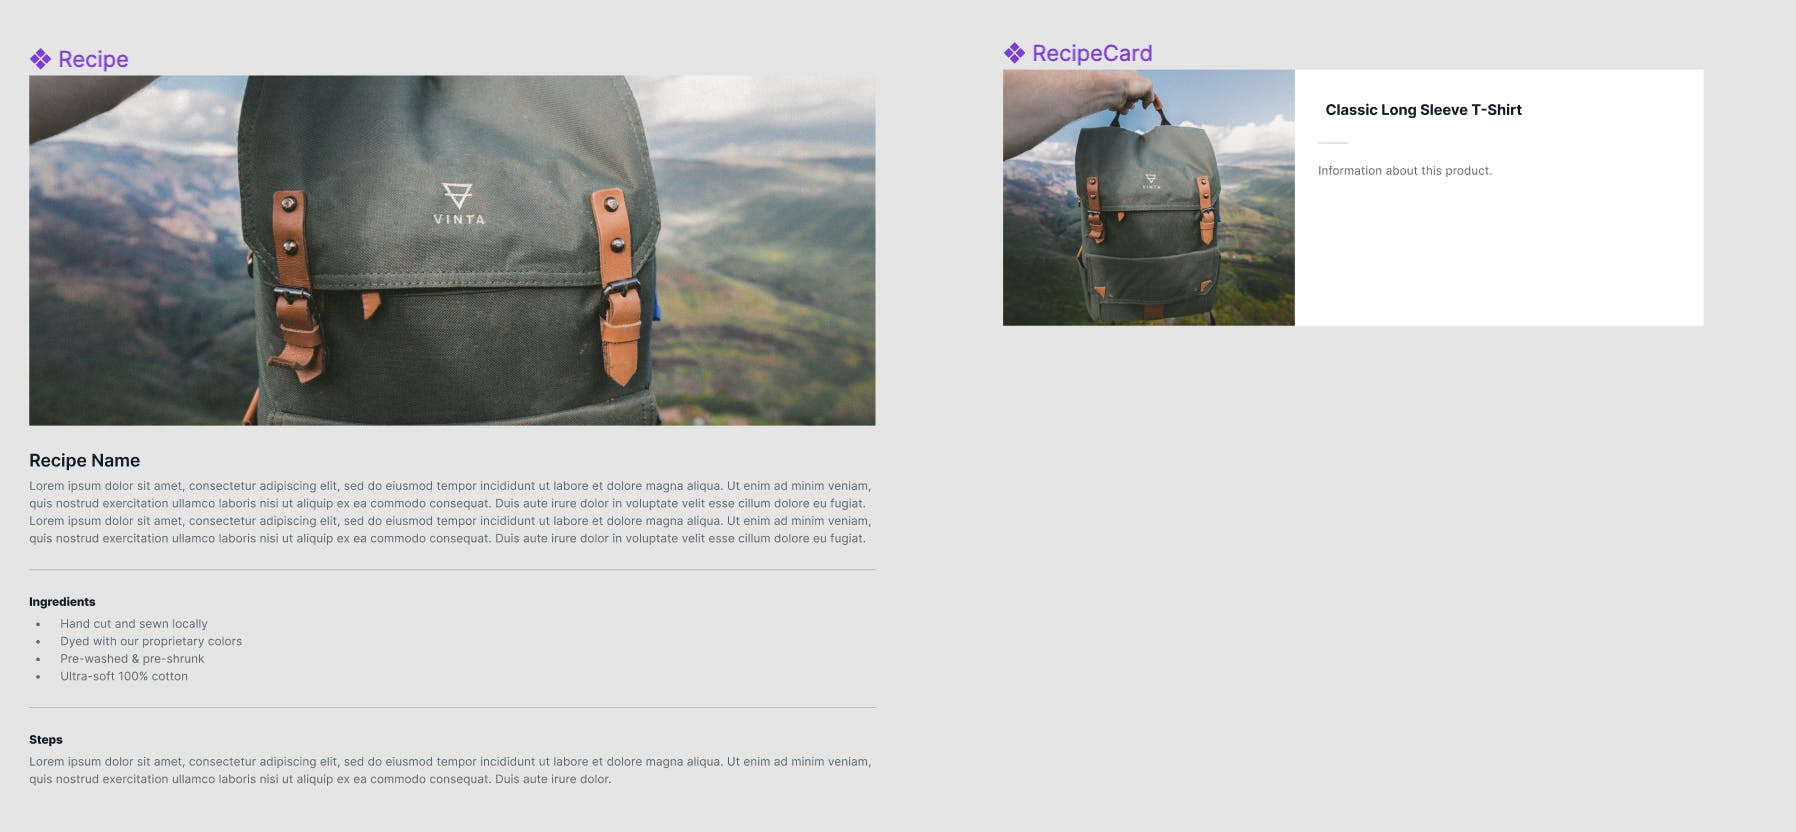
I'm going to modify two of the components for my app - the ReviewCard and the ProductDetail. I removed the second column from the ProductDetail, and I removed the review stars and some of the information from the ReviewCard. I also renamed the components to RecipeCard and Recipe. My final Figma file looks like this:
Now, back in Amplify Studio, go to the "UI Library" tab. Click "Get started", then paste in the link to the Figma file you modified. Then click "Continue." You'll be prompted to accept or reject the components - you can click "Accept all" to skip this step.
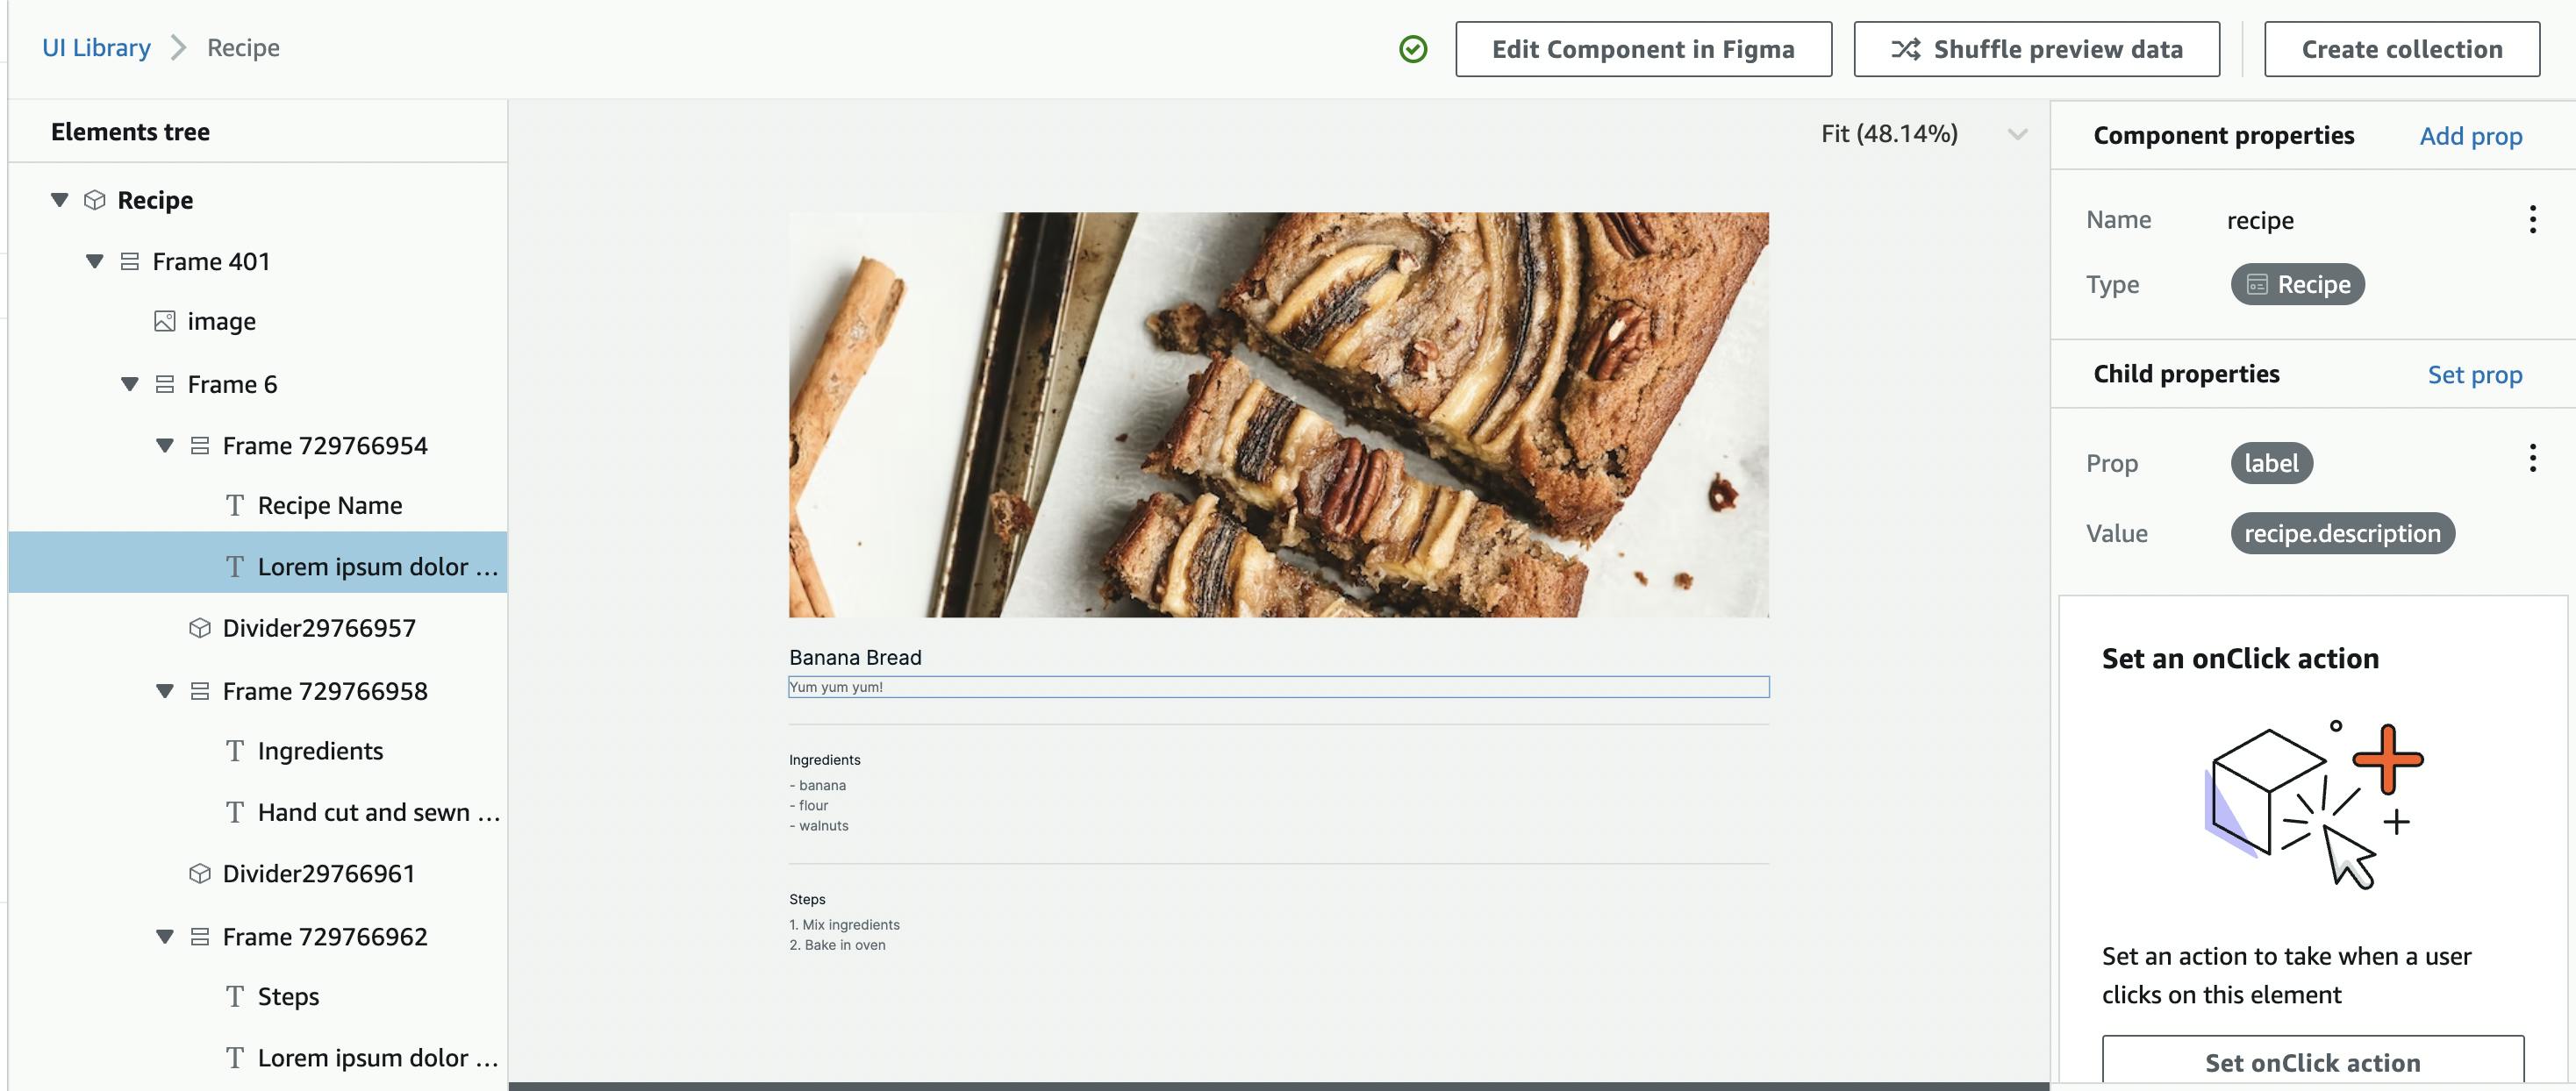
Click the "Recipe" component, then click "Configure". Click on the image, then set its "src" prop to "recipe.photo". Then click the title and set its "label" prop to "recipe.title". Set the text below that to the "recipe.description". Put the ingredients in the text section below that. You can also set the text to be a constant if you want to change any of the other headers! Finally, add the steps. You can click "Shuffle preview data" to view your other recipes plugged into the component!
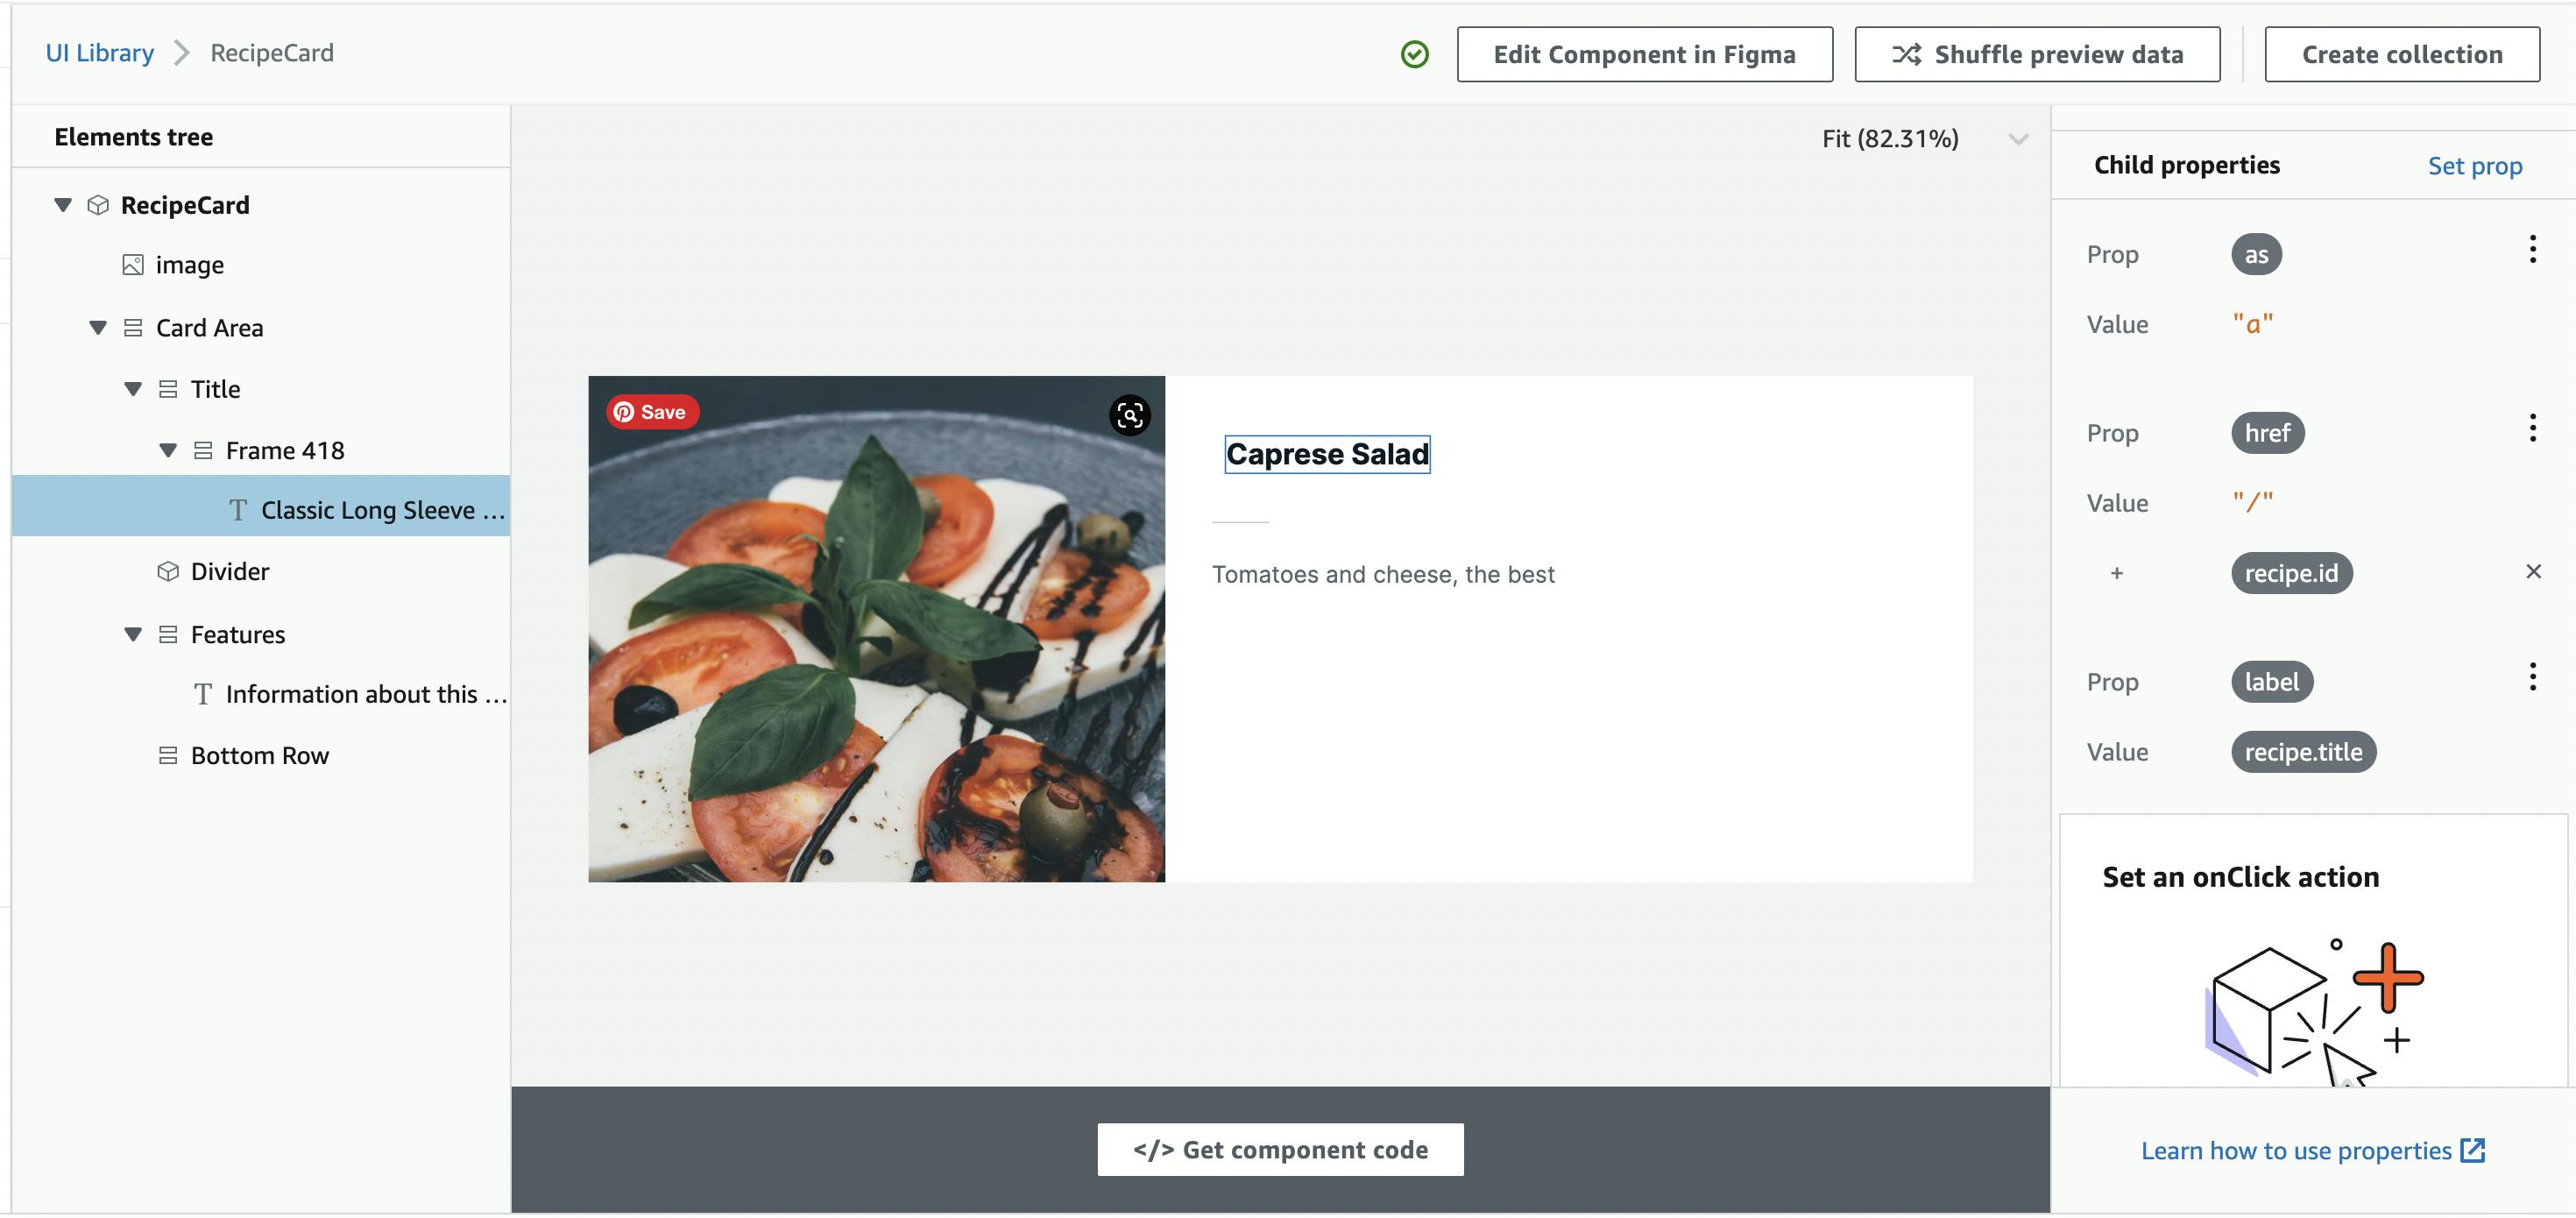
Now, go to the RecipeCard component and click "Configure". Set the image "src" to "recipe.photo". You may notice that the image is stretched out, so you can set the "objectFit" prop to "cover". Set the title to the "recipe.title" using the "label" prop. We also want this title to link to the detail view for the recipe. We'll set the "as" prop of the title to "a" to make it into a link. We'll also set the "href" prop to "/" concatenated with "recipe.id". Finally, set the description to the recipe's description.
We'll want to show a list of all the recipes when someone goes to the home page of the app - you can do this in Amplify Studio! Click "Create collection", you can then add sort conditions, filters for which recipes show up, padding, and add search!
Now we get to build out our application! I'll create a Next.js app locally:
npx create-next-app recipes
cd recipes
Then, install the Amplify command line interface and the Amplify libraries:
npm install -g @aws-amplify/cli
npm install aws-amplify @aws-amplify/ui-react
Then, add the following to your pages/_app.js component. This will configure Amplify for your app.
import { Amplify } from 'aws-amplify';
import "@aws-amplify/ui-react/styles.css";
import awsconfig from './aws-exports';

Amplify.configure(awsconfig);
Also, import the Inter font in your globals.css file:
@import url('https://fonts.googleapis.com/css2?family=Inter:slnt,wght@-10..0,100..900&display=swap');
If you click "local setup instructions" in Amplify Studio, you'll see instructions for pulling your app backend into your local app. Run the command specific to your app.
amplify pull --appId your-app-id --envName staging
Replace the code in the index.js file with the following:
import { RecipeCards } from "../src/ui-components";

export default function Home() {
  return <RecipeCards />;
}
We're importing the generated RecipeCards collection and rendering it. If you run your Next.js app locally, you'll see a list view with all of the recipes you added! If you click on one of the recipe titles, you'll be led to a 404 page.
Now, let's create a detail view. Create a file called [id].js. We'll need to create a path for each recipe, then fetch just the correct recipe on the page that matches that recipe's id, then we need to render the page with that recipe's information.
The code will look like this:
import { serializeModel } from "@aws-amplify/datastore/ssr";
import { DataStore, Amplify, withSSRContext } from "aws-amplify";

import { Recipe } from "../src/ui-components";
import { Recipe as RecipeModel } from "../src/models";

export async function getStaticPaths({ req }) {
  const SSR = withSSRContext({ req });
  const recipes = await SSR.DataStore.query(RecipeModel);
  return {
    paths: recipes.map(recipe => ({ params: { id: recipe.id }})),
    fallback: true
  };
}

export async function getStaticProps(context) {
  const SSR = withSSRContext({ context });
  const recipe = await SSR.DataStore.query(RecipeModel, context.params.id);

  return {
    props: { recipe: serializeModel(recipe) },
  }
}

export default function RecipeDetail({ recipe }) {
  return <Recipe recipe={recipe} />;
}
Let's add authentication so that users need to log in to view the recipes. You can use the withAuthenticator higher-order component to add a sign in and sign up flow to your app. Add it to the Home component to make users sign up to see the recipes!
import { withAuthenticator } from "@aws-amplify/ui-react";
import { RecipeCards } from "../src/ui-components";

function Home() {
  return <RecipeCards />;
}

export default withAuthenticator(Home);
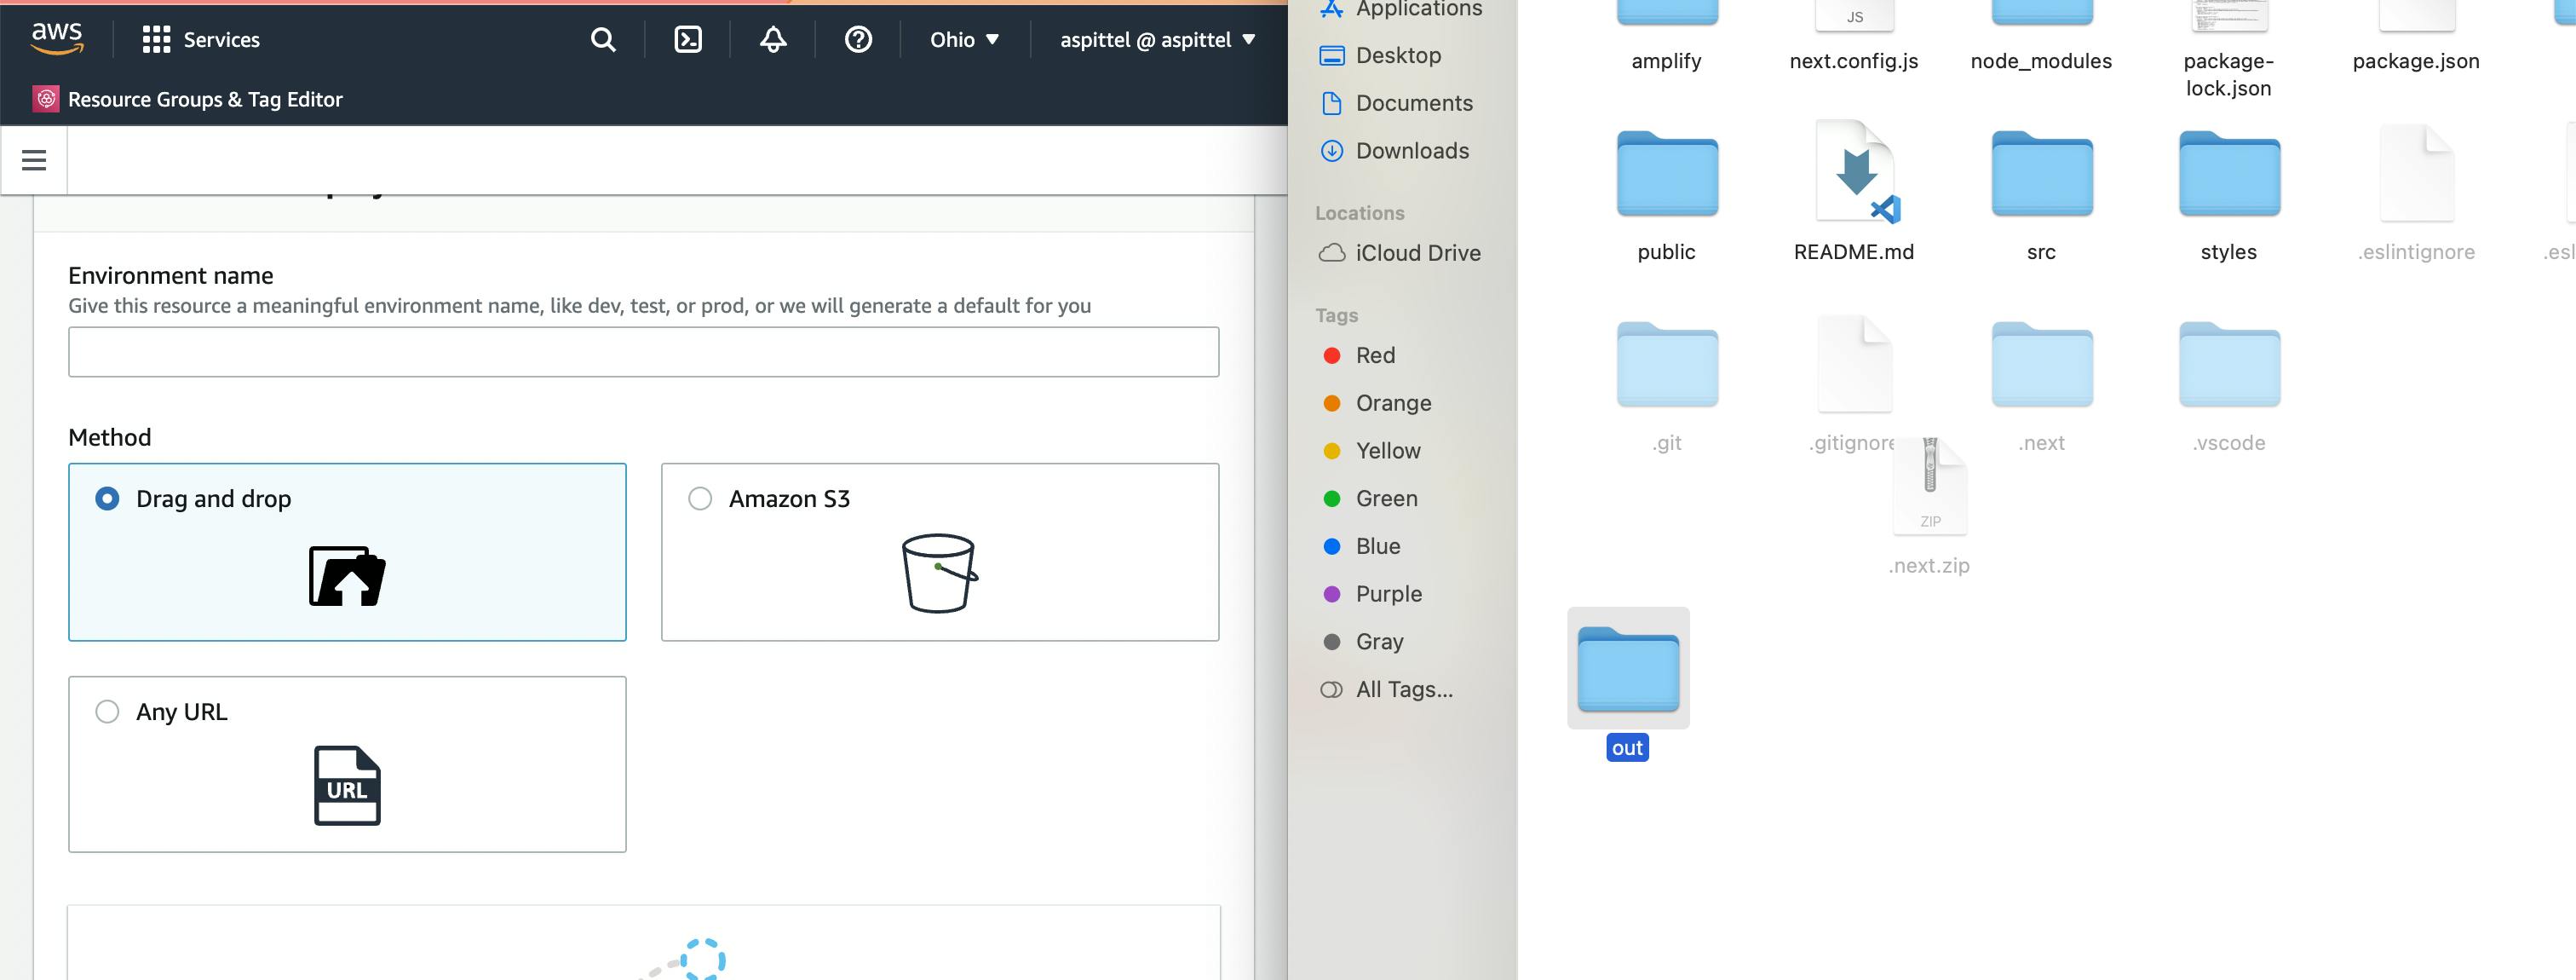
Now our app is looking great locally, let's deploy it so more people can visit! If you go back to the Amplify Console and click into your app, there will be a "Hosting environments" tab. You can choose to continuously deploy from a Git provider of your choice, or upload your project files directly. For this tutorial, I'll build my app locally:
next build && next export
Drag and drop the out folder into Amplify.
Now our app is live! We built and deployed a full-stack Next.js app with data storage, authentication, and UI code generation. The generated UI components are fully override-able in your own code. You can go even further with Amplify and add mapping, [AI/ML], or connect to the rest of the AWS ecosystem with CDK. As you build, we'd love to hear your feedback!